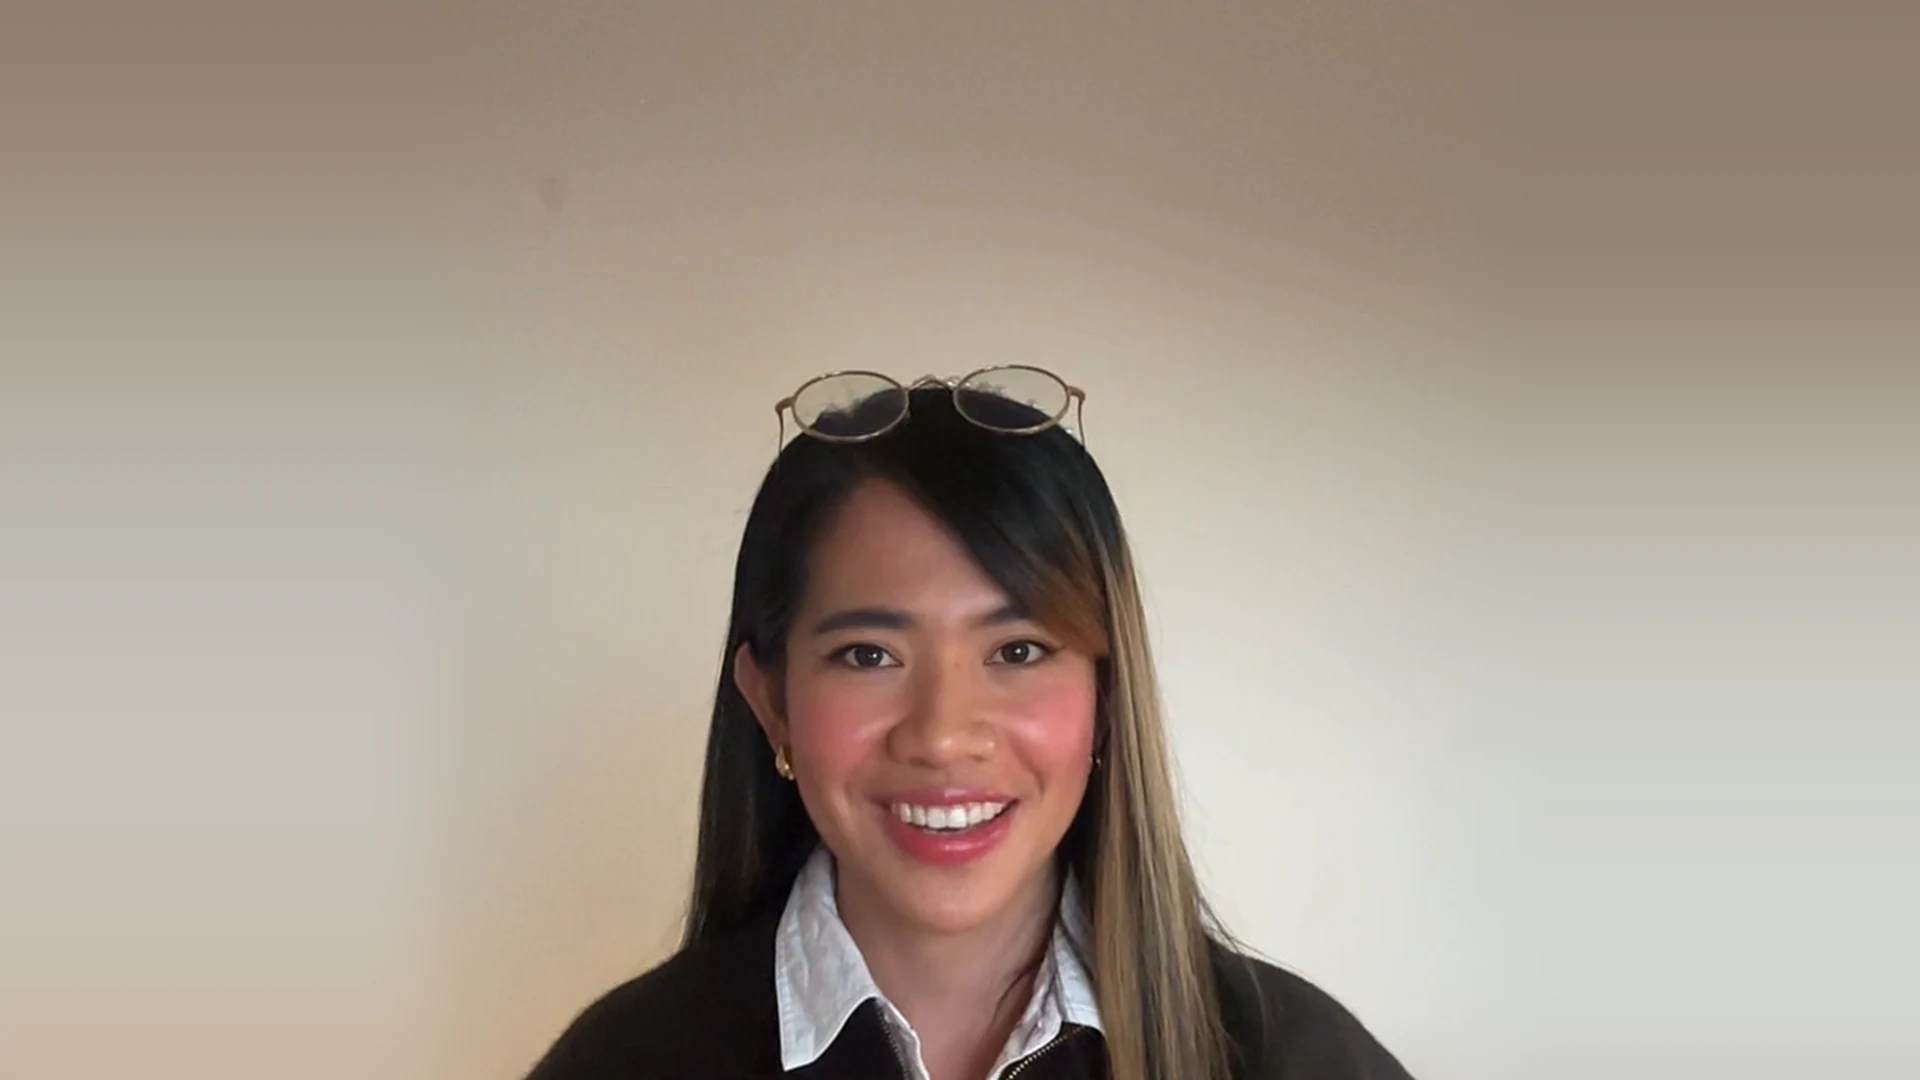
If you only want the steps, the five-page guide has the tools to install and the four prompts.
Claude gets new updates all the time, and I find it fascinating how much better it gets with each one. Lately my feed has been full of videos of people letting Claude edit their videos, where they show the raw clip and then the finished version with captions, graphics and sound.
I've edited reels and videos before in CapCut and Canva, so I know how repetitive it gets and how long it takes to get every transition and animation right. After seeing those videos so many times, I wanted to find out if Claude is really that good at it.
Claude and I started by studying how those creators made their videos. I collected their setup guides, prompts and a few reels I liked, and Claude went through them to see what they had in common, which turned out to be mostly the same free tools. Then we looked for the open source versions on GitHub, installed the skills and tested each one before using it. A couple of them didn't install on the first try, and I explain why further down.
For the edit itself, I gave Claude one raw take that's 76 seconds long. I can't memorise a whole script, so I filmed it paragraph by paragraph on my phone and stitched the clips together. I also gave it my fonts, which are Playfair Display and Montserrat, my night-sky colour palette, four reels I like as inspiration and a short script with a hook, one statistic, four steps and a call to action.
The workflow
This is the workflow we ended up with. It has four steps, and you only do the first two once.
- Install the tools. Claude installed free, open source tools and tested each one on a real clip before using it. FFmpeg handles the cuts and exports, a speech-to-text model writes down every word with its timing, and HyperFrames builds the captions and motion graphics. At the end, Claude showed me a short table of what worked.
- Give it your taste. I shared my fonts, my colours and the four reels. Claude went through stills and transcripts of each reel and wrote down what made them work, like the pacing, the captions and how the graphics come in and leave, and then it designed my own version without copying any of them.
- Rough cut, then storyboard. Claude transcribed every word, found where my clips were joined, cut the breaths and long pauses, and changed the framing slightly at each cut so the joins don't show. I approved the rough cut first and then a storyboard of 15 stills, and nothing was rendered before that.
- All notes in one message. I wrote every change in one message, like a brief to an editor, and each message gave me one new version.
How long it took
It took less than an hour from uploading my raw video to getting the first full draft, and that included one round of notes on the storyboard. Rendering the video itself took about eight minutes.
The part that surprised me most was how little I had to change. In the first storyboard, the subtitles sat right under my jaw and everything was bunched at the top of the frame. I sent one message asking Claude to move the subtitles lower, balance the empty space and add a sound to every animation, and after that everything looked right. The next version is the video on this page.
Things that didn't work the first time
A few things needed fixing along the way.
- The cloud workspace Claude worked in blocked the usual website for downloading speech models, so Claude switched to an official copy of NVIDIA's Parakeet model on GitHub, which worked just as well.
- HyperFrames tried to load its animation library from another blocked website, so Claude installed the library locally and pointed HyperFrames at the browser that was already there.
- The speech model heard my website as "buycomiliacol.com". Claude fixed it by hand in the captions, and that's why the workflow now asks you to check unclear words before the captions go on.
- My stitched raw file was only 720p, so my face looks a little softer than it could. Next time I'll export my clips at 1080p before sending them.
Install these to try it yourself
To edit a video this way, you need a paid Claude plan so you can use Claude Code. Everything else is free, and you can download each tool straight from the people who made it.
Tools
| Tool | What it does | Where to get it |
|---|---|---|
| Claude Code | Runs the whole edit from a folder on your laptop | https://claude.com/claude-code |
| FFmpeg | Cuts, framing, sound levels and exports | https://ffmpeg.org/download.html |
| HyperFrames by HeyGen | Captions, graphics, transitions and the final render | https://github.com/heygen-com/hyperframes |
| sherpa-onnx with NVIDIA Parakeet | Word-by-word transcript with timings, running on your own laptop | https://github.com/k2-fsa/sherpa-onnx |
If you'd rather use Whisper for the transcript, faster-whisper works too, and you can get it at https://github.com/SYSTRAN/faster-whisper
I learned from these people, and the work is theirs, so please get it from them directly.
Skills and setups from other creators
| Creator | What they share | Link |
|---|---|---|
| Vibha Ramprakash (@vibha.in.progress) | claude-video-effects, 51 starter effects for talking-head videos, plus her seven-step setup guide. I installed and tested it | https://github.com/Vibha-Ramprakash/claude-video-effects |
| Bradley Bonanno (bradautomates) | claude-video, a Watch skill that lets Claude study reference videos. I installed and tested it | https://github.com/bradautomates/claude-video |
| kurbaitaev | Ghost Editor, a full talking-head editor for Apple Silicon Macs. I followed its rules for picking the best takes | https://github.com/kurbaitaev/ghost-editor |
| Austin Myers, Multitaskers (@itsaustinmyers) | AI Video Editor 2.0 and a DIY guide for Macs. I followed his order of rough cut, storyboard, opening and full edit | https://www.instagram.com/itsaustinmyers |
| arti.miller (@arti.miller) | A three-prompt setup for editing reels in Claude Code | https://www.instagram.com/arti.miller |
| Brand Nat | Brand Nat Style Pack, named style codes for planning a look |
The prompts I used
Prompt 1. Set up the tools
Set up this folder as my video editor for vertical talking-head videos. Check what's already installed, then install anything missing from official sources: FFmpeg, a speech-to-text model that gives word timings, and HyperFrames. Ask me before installing anything. Test each tool for real by burning a subtitle into a test clip, transcribing a few seconds of speech and rendering a short title, then show me a table of what works.Prompt 2. Give it your taste
Here are my fonts, my colour codes and [3 to 5] reels I like. Study the reels frame by frame: pacing, cuts, caption style, how graphics come in and leave, sound, and the first three seconds. Take inspiration but don't copy any shots, text, logos or brand elements. Write my own style down with exact values and show it to me before saving it.Prompt 3. Edit the video
My raw video is in the raw folder. Transcribe it word by word and ask me about any words you're unsure of. Make a rough cut first: keep the best take of each line, cut breaths and pauses that drag, never speed up my voice, and switch the framing slightly at each cut. Show me the rough cut. After I approve it, plan the graphics beat by beat in my style and show me a storyboard before rendering anything.Prompt 4. Send your notes
Here are all my notes at once: [your notes]. Apply them, update the storyboard, and render the next draft as a new file. Check the file yourself, including the sound, before showing me.A few last notes
About 95% of B2B marketers say their organisations use AI, but only 39% of those using it for content say their content performs better (Content Marketing Institute & MarketingProfs, 2025). I think part of the reason is that we start from zero every time. What helped me most in this project was writing the workflow down, so my next video starts with my fonts, colours and editing style already saved, and I only need to bring the new recording and my notes.
The video on this page is Claude's edit exactly as it came out, so it has no music. For LinkedIn, I added background music myself in CapCut, since I still had a few credits there and it was quicker than finding open source music and uploading it to Claude. You can do that part in Claude too if you give it a track you have the rights to and ask it to mix the music quietly under your voice.
If you want to try it yourself, the whole workflow is in this PDF.
References
- Anthropic. (2026). Claude Code [Computer software]. https://claude.com/claude-code
- Bonanno, B. (2026). claude-video (Version 0.3.2) [Computer software]. GitHub. https://github.com/bradautomates/claude-video
- Content Marketing Institute & MarketingProfs. (2025, October 8). B2B content and marketing trends: Insights for 2026. https://contentmarketinginstitute.com/b2b-research/b2b-content-marketing-trends-research
- FFmpeg Developers. (2023). FFmpeg (Version 6.1.1) [Computer software]. https://ffmpeg.org
- GreenSock. (2026). GSAP (Version 3.15.0) [Computer software]. https://gsap.com
- HeyGen. (2026). HyperFrames (Version 0.9.12) [Computer software]. GitHub. https://github.com/heygen-com/hyperframes
- k2-fsa. (2026). sherpa-onnx (Version 2.0.1) [Computer software]. GitHub. https://github.com/k2-fsa/sherpa-onnx
- kurbaitaev. (2026). ghost-editor [Computer software]. GitHub. https://github.com/kurbaitaev/ghost-editor
- Miller, A. [@arti.miller]. (2026, November). AI video editor in Claude Code: 3 prompts, from an empty folder to a finished reel [Video]. Instagram. https://www.instagram.com/arti.miller
- Myers, A. (2026). AI video editor 2.0 (Version 2.0.0) [Computer software]. Multitaskers.
- Myers, A. (2026). Build your own AI video editor: DIY guide [PDF]. Multitaskers.
- NVIDIA. (2025). parakeet-tdt-0.6b-v2 [Speech recognition model]. Hugging Face. https://huggingface.co/nvidia/parakeet-tdt-0.6b-v2
- Pixabay. (n.d.). Pixabay content license summary. https://pixabay.com/service/license-summary/
- Ramprakash, V. (2026). claude-video-effects [Computer software]. GitHub. https://github.com/Vibha-Ramprakash/claude-video-effects
- Ramprakash, V. (2026). The setup that made Claude my video editor [Web page]. https://vibha-ramprakash.github.io
- Silero Team. (n.d.). Silero VAD [Computer software]. GitHub. https://github.com/snakers4/silero-vad